 Home tab >
Libraries > EDI Connection
 Home tab >
Libraries > EDI Connection
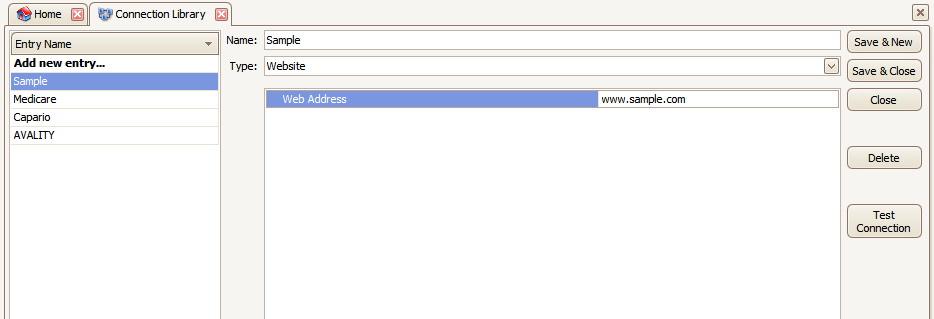
The EDI Connection Library is used to maintain electronic connection methods to your various clearinghouses or payers.

Each connection Type has different requirements.
•Enter the name of the connection.
•Select the Type.
•Enter additional data as required.
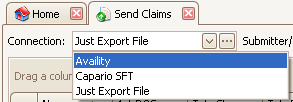
The EDI Connections are selected on the ‘Send Claims’ screen and the ‘View EDI Reports’ window. Refer to Electronic Claims and View EDI Reports for additional information.


This is the most popular type of connection. It allows uploading of claims and downloading of reports with the click of a button. No additional software is required.
The values for each field are provided by the clearinghouse.

User Login: The SFTP login provided by your clearinghouse or payer.
User Password: The SFTP password provided by your clearinghouse or payer.
Host Name: Enter the host name (i.e. ftp.somesite.com) or IP address (i.e. 192.168.0.1) provided by your clearinghouse or payer. If you receive a ‘Connect Failed’ during a test connection, double check that the host name is correct.
Port: Typically, SFTP communicates over port 22 but other ports may be used. If you receive a ‘Connect Failed’ during a test connection, double check that the port is opened on your firewall.
Upload Directory: Enter the SFTP upload directory provided by your clearinghouse or payer. This directory will be used to upload ANSI 837 claim files.
Download Directory: Enter the SFTP download directory provided by your clearinghouse or payer. This directory will be checked for EDI reports.
Download File Pattern (Optional): If you want to limit the download of files using a regular expression, enter it here.
Automatically Name and Save Upload Files: Check this box If you would like the program to automatically name the file and upload it. The saved file is temporary and will be deleted upon successful upload. The filename will be in the format yyMMdd_HHmmssff (year, month, day, hour, minute, second, hundredth). There is no file extension.
Allow SFTP Site to Move or Delete Files: Check this box if the server will handle the removal of downloaded report files.
File Extension for Automatically Named Files (Optional): If your clearinghouse or payer requires a specific file name extension, enter it here. Enter the extension without the ‘.’ (period).
For use with Interfaces Only: Check this box to prevent accidental misuse of the SFTP connection, limiting use of this connection to use with data import interfaces only.
Download from Subdirectories: Checking this box will cause the program to check 1st level subdirectories from the download path for files that can be downloaded. (Program does a ‘deeper sweep’ for files).
Uses secure FTP protocol (SFTP), Secure File Transfer. Enter User Login and User Password provided by Availity. When using this connection type, the program will automatically name and upload the claim file and show a progress bar on the screen.
The following values are used for the Availity connection type:
•Site: ftp.availity.com
•Port: 9922
•Upload Directory: SendFiles
•Download Directory: /ReceiveFiles
Used with BCBS of Michigan only. Enter the information provided by BCBS of Michigan’s EDI services.
Used for Capario (Change Healthcare) clearinghouse services. Enter the information provided by EZClaim’s EDI services.
Used for TriZetto clearinghouse services. Enter the information provided by TriZetto’s EDI services.
The download pattern allows you to enter a file name pattern with wildcards (‘*’) to filter the files downloaded. Example. Entering 12345* would only download files that start with 12345. This is useful if you are working with multiple company files.
If you would like an external program to open after the file has been exported, enter the filename here. Once the claim file is saved, the program will be opened. The claim filename is placed in the clipboard.
This option would be used if there is special transmission software that your clearinghouse uses to upload claim files.
NOTE: This connection type cannot be used with EZClaim Cloud due to security restrictions. If you are using EZClaim Cloud, use the ‘Just Export File’ option to save the file to your local computer and open the program required to upload the file.
If your clearinghouse uses a website to transfer files, enter the website URL here and the program will open the website in your default browser. The claim filename is placed in the clipboard.
NOTE: This connection type cannot be used with EZClaim Cloud due to browser security restrictions. If you are using EZClaim Cloud, use the ‘Just Export File’ option to save the file to your local computer and use your web browser to upload the file.