NOTE: Not all scanners are compatible with direct scanning into EZClaim Premier. You may need to scan and save the document, then drag and drop it into the patient document area.
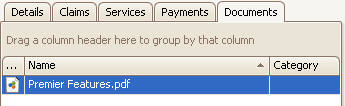
1. In EZClaim Premier, select the Patient from the left search pane.
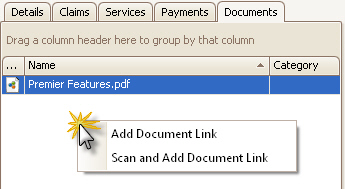
2.
Click on the Documents tab. Right click and select ‘Scan and Add Document
Link’.
3.
You will now see the Scan Document menu. Confirm that your device is
visible in the left-hand corner under ‘Device’.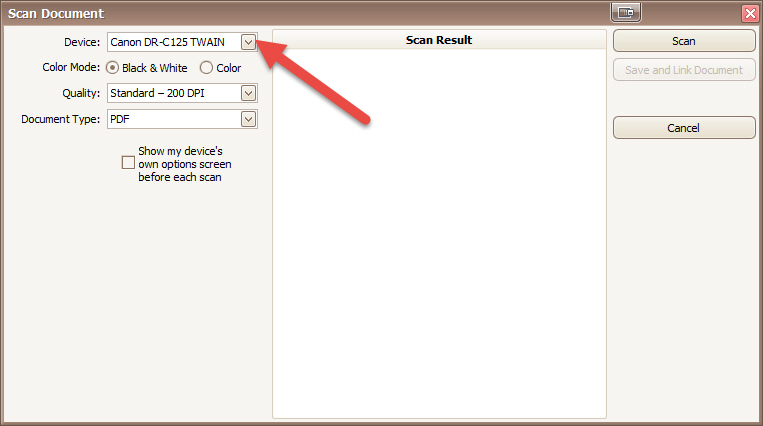
4.
Click the Scan button and wait for your Scanned Document to show up under Scan
Result.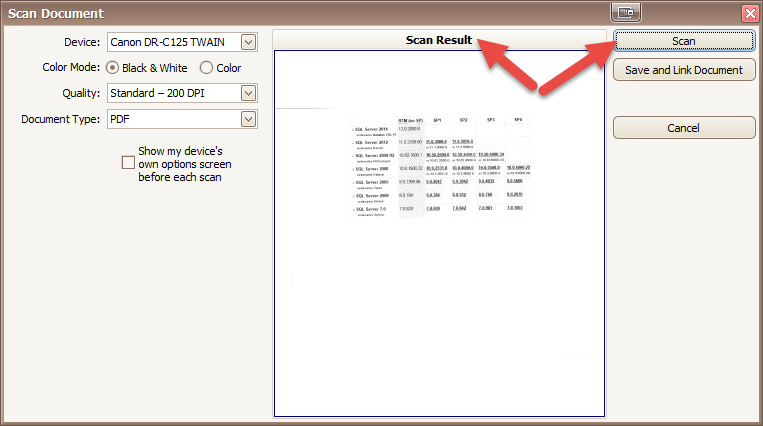
5.
Click on ‘Save and Link Document’ to save the Document to the folder we have
created on the server and link the document to the patient. You will be
prompted to name your document.
6.
Once complete, you will receive a notification that your link has been
added.
7.
Your document will then appear in the list.