 and sometimes ‘Create and Send
Batch’
 . The ‘Create Batch’ button
may be disabled until you have selected your Connection type.
. The ‘Create Batch’ button
may be disabled until you have selected your Connection type.Depending on the Connection type, the steps to create and
submit a batch will vary. Some Connection types require the file to be
saved; others create the file for you automatically. The ‘Create Batch’
button text will vary, sometimes it will say ‘Create Batch’  and sometimes ‘Create and Send
Batch’
 . The ‘Create Batch’ button
may be disabled until you have selected your Connection type.
The following steps are for the ‘Just Export File’ connection type:
1. Select ‘Connection’ type. Ex: Just Export File
2. Select ‘Submitter/Receiver’ name.

3. Select claims to send by using checkbox for individual claims or ‘Check All’.
4.
Click the ‘Create Batch’ button
5.
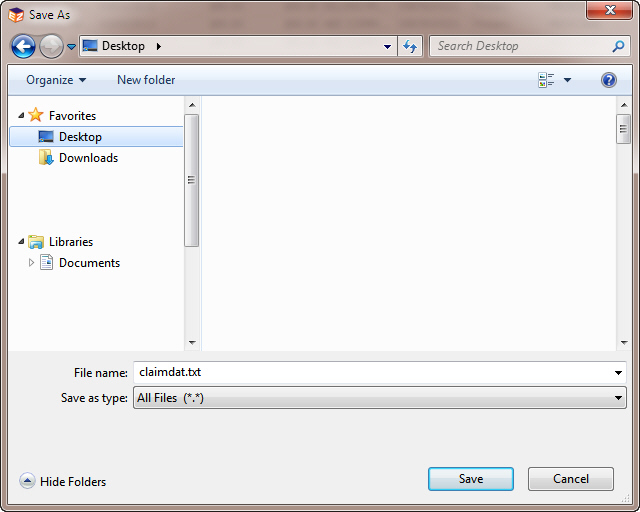
Enter Filename into the ‘Save As’ box and click ‘Save’.
Important:
Some Clearinghouses and/or Payers have specific naming conventions. Be sure to
check with your payer for any special requirements. Incorrectly named
files will be not be processable by the receiver.

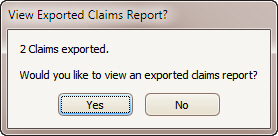
6. Once the claims are exported a confirmation will appear.

7. Click ‘Yes’ to preview (and/or print) an exported claims report. This report indicates ONLY what data you attempted to export in this file. It does not confirm whether the file reached the destination or was successfully processed.
1.
To resend a batch of previously submitted claims, go to ‘Send Claims’ and click
on the  button.
2. From the list of ‘Previous Submissions’, highlight the batch to be resent, click OK or double click the file.

3. All claims from the selected batch are now listed in the ‘Send Claims’ dialog box.

4. Check the claims to be resubmitted or click the ‘Check All’ button and resubmit claims.
Click ‘Select Previous Batch’  button and select by highlighting the
batch to reprint, click the ‘Print Report’
  button. Note: The
Exported Claims report WILL NOT match the original report if any claim data
has been changed.
EZClaim will create multiple batches (transaction sets) within the ANSI 837. Transaction sets are defined with ST (header) and SE (footer) segments. A new transaction set will be created on each change of the following:
•Billing Provider Additional ID Number Type
•Billing Provider Additional ID Number
•Billing Provider Selection
The batch sort value can be seen on the Send Claims screen by adding the ‘Batch Sort’ column to the grid. In the screen shot below, if all claims were selected for export, there would be two transaction sets in the file with 3 claims each. In this example, there are no additional ID numbers but there are two different billing providers (internal ID 6 and 20).

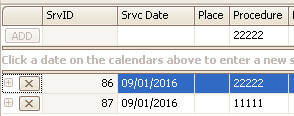
Service lines are sorted by date order then by order of entry. If you want to make sure you know the order of entry, you can add the SrvID column into the service line grid.

The program DOES NOT export or print the service lines based on any type of grid sorting. Grid sorting is for the user only.