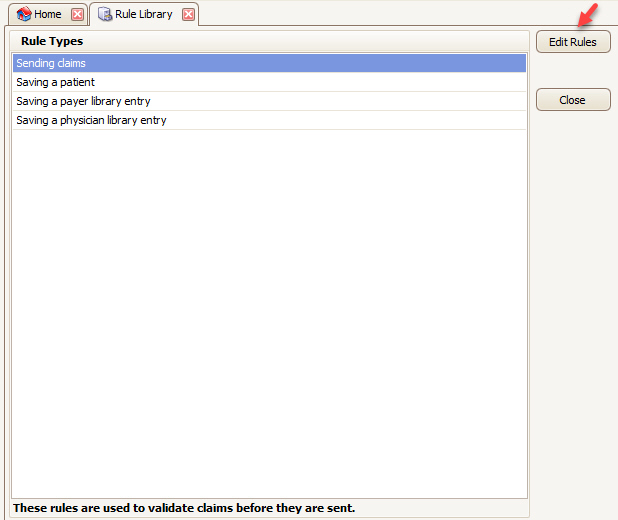
You may notice “behind the scenes” programming that you prefer (or need) to override in certain situations. You can view the rules already in play, edit them as needed, and/or create new rules as you see fit. To get started, click Ctrl + Alt + V from anywhere in the program to bring up this window.

For rules already in place, the fields will be grayed out. If you wish to deactivate an existing rule, simply uncheck the ‘Enabled’ box in the lower left corner of the screen.
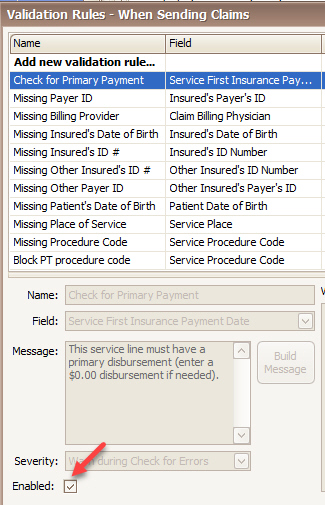
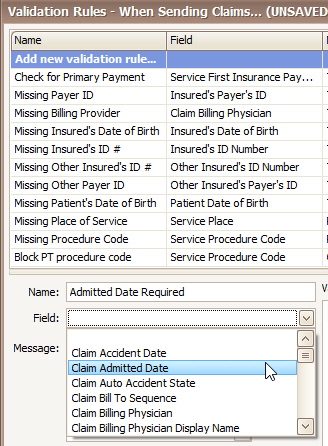
To add a new validation rule, choose the Name you want to appear on the drop-down and associate it with the appropriate Field within your Premier program. Please note that each of the four Rule Types will provide a different list of available fields.
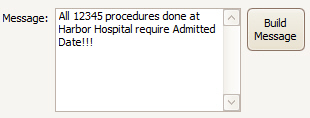
Next, build the message you want the warning to display. We suggest personalizing it (via casual wording, extra punctuation, etc.) so it will be easier to distinguish between the default validation rules and your own custom rules.
Next, select the ‘Severity’ level you prefer:

The selection will result in one of the following errors when you are attempting to send claims:


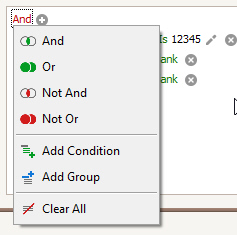
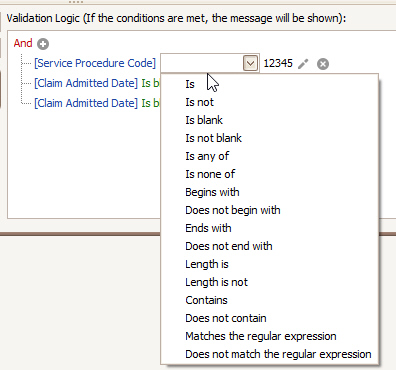
Finally, build the Validation Logic as needed:

Click ‘Save & Close’ to exit the Validation Rules Library.