There are various ways to open the new claim screen.
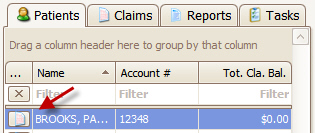
From the Patient search pane, click the ‘Claim’ icon next to the patient name.
Or, from the Home screen, click the ‘Create Claim’ button and select a patient.

When creating a new claim, the following steps are performed by the program.
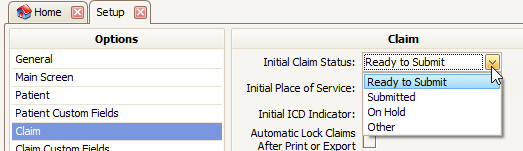
•A blank claim is created. Claim ID set to ‘New’. Status set to ‘Ready to Submit’. This setting can be changed by going to Tools>Options:
•The ‘Bill To’ list is populated based on the current Insurances entered on the patient record.
•The claim submission ‘Method’ is set based on the payer setting in the payer library (Paper or Electronic).
•The ‘Date of Current’ is populated with the date from the patient’s previously entered claim, the Initial Claim Value or left blank.
•The Diagnosis codes are set based on the codes entered on the patient record.
•The ‘Initial Claim Values’ from the patient record are read and the claim values set accordingly.
•If the patient has a ‘Claim Template’ defined, the claim template values are applied (possibly overriding the physician library entries and/or the diagnosis codes. See Claim Templates”
•Service lines may also be added automatically if creating claims from appointments.
•A warning will appear when saving a claim with more than 50 service lines for professional claims and 999 for institutional claims.
Enter the service line data by clicking dates on the calendar and any additional required claim data.