Credits are sometimes called takebacks or recoupments. The same techniques will apply to a credit, refund, take-back, or recoupment.
Credits for either a Patient or Payer can be entered.
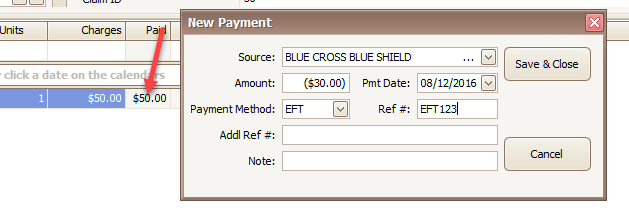
Entering a credit is as simple as entering a payment –but instead you will enter a negative rather than positive amount. Negative numbers in Premier are represented by parentheses around the amount instead of the – (negative) sign. Example: ($30.00), instead of -$30.00
Credits can be manually entered in two locations:
•On the claim screen by double clicking the ‘Paid’ cell and using the service line payment window. Use this technique if entering a credit for service lines on a specific claim.

•On the Payment Entry window by clicking the ‘Enter Payment’ button on the Home screen. Use this technique to enter a large credit across many claims.


•Note: Auto-Posting can apply credit disbursements as well. See Reversal of Previous Payments for more information.
1. Open the claim to apply the credit.
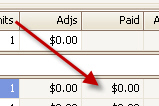
2. Double click the ‘Paid’ cell on the service line to apply the credit.
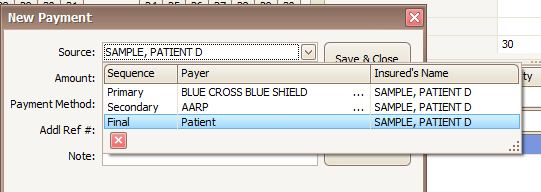
3. Enter the source of the credit, either the patient or the payers associated with the claim.
4. Enter the credit as a negative amount in the Payment Amount field, a date, and any other reference information you would like.
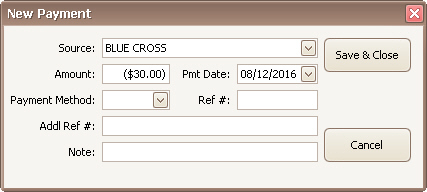
5. Click Save & Close.
1.
Click the ‘Enter Payment’ button on the Home Screen
2.
Select either Patient or Payer
3.
Enter the credit as a negative amount in the Payment Amount field, a date, and
any other reference information you would like.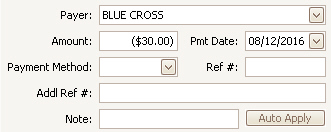
4.
Make sure the service lines you need to apply the credit to are visible in the
list.
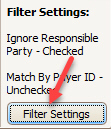
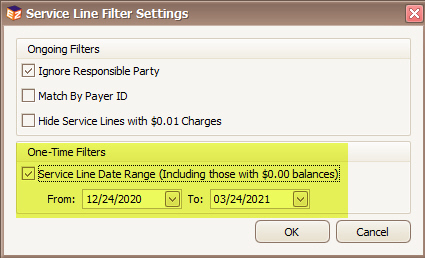
NOTE: If service lines are not available in the grid, they may
have a $0.00 balance and thus the program is removing them from
consideration. You can override this as follows:
5. Enter the credits for each service as needed.
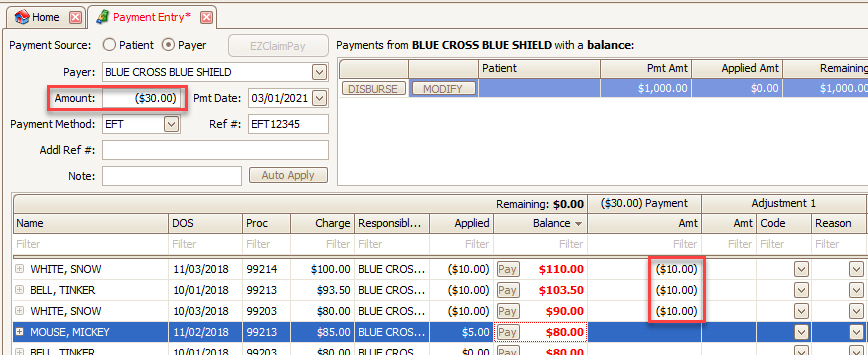
Note: The ‘Pay’ buttons on the service lines do not work when applying credits.