When using the BillFlash Electronic Statement service, there is very little difference in the statement upload process. Be sure to set the Statement Format to ‘BillFlash’.
The Add-On MUST be configured before sending statements to BillFlash.
See Add-On Services for information on setting up Add-Ons.
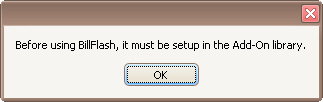
If you have not set up the Add-On, you will receive the following message when trying to send statements:
1.
Click the ‘Patient Statements’ button on the home screen.
2.
Set the ‘Statement Format’ to ‘BillFlash’.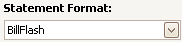
3.
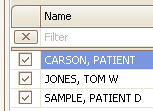
Click the ‘Check All’ button or check individual patients for which statements
should be generated.
4.
Click the ‘Send’ button.
5.
You will receive a confirmation that the file was uploaded
successfully.
Upload statements from EZClaim and let BillFlash mail them to your customers.
Let patients pay online with eBill and ePay. Call BillFlash for more information.
Enroll online at http://www.billflash.com Reseller ID: 80488 or call 435-940-9123.
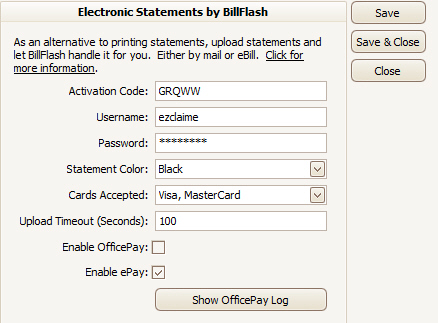
Activation Code: Provided by EZClaim.
Username: Provided by BillFlash.
Password: Provided by BillFlash.
Statement Color: Select the statement color. Contact BillFlash for information on statement options.
Cards Accepted: Select the credit cards accepted. Contact BillFlash for information on statement options.
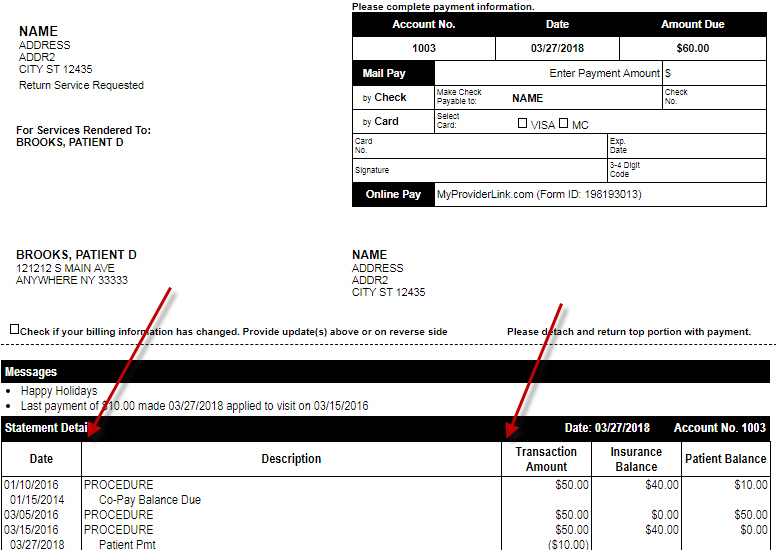
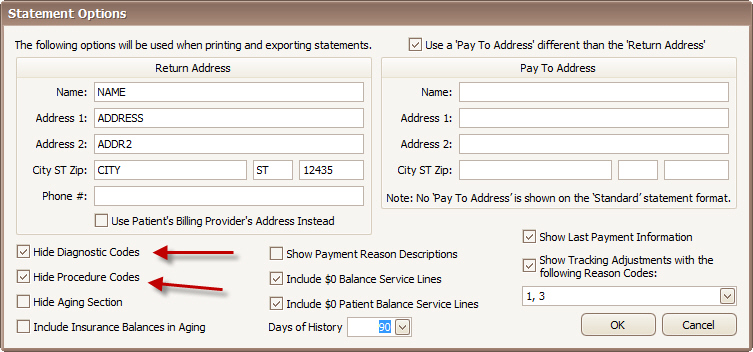
Statements can be customized even when using the BillFlash service from the EZClaim Premier statement options screen. For example, checking the boxes to hide diagnostic and procedure codes here…
Will change the BillFlash statement from this…
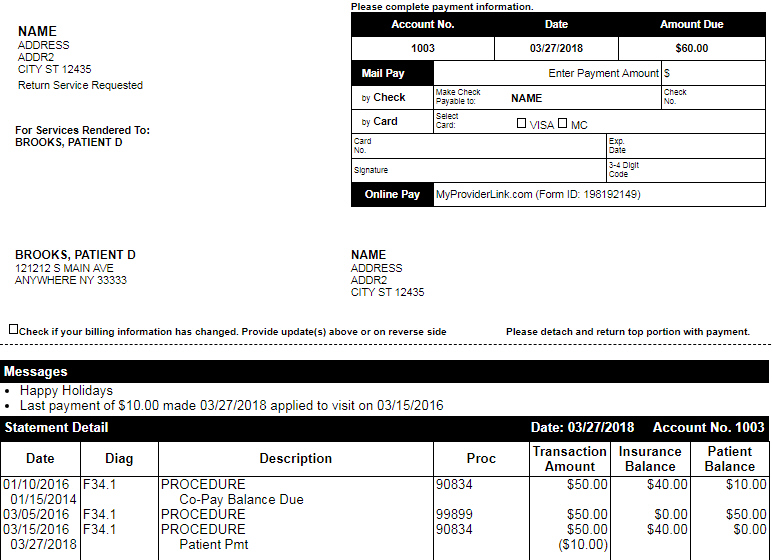
…to this: